
Edit an event's information
An event’s Settings tab gathers its general information and the actions that affect the whole event: collaborators, duplication, deletion and, once the event is over, turning attendees into an audience.
What the Settings tab contains
Section titled “What the Settings tab contains”Open the event from the Events page, then click the Settings tab.
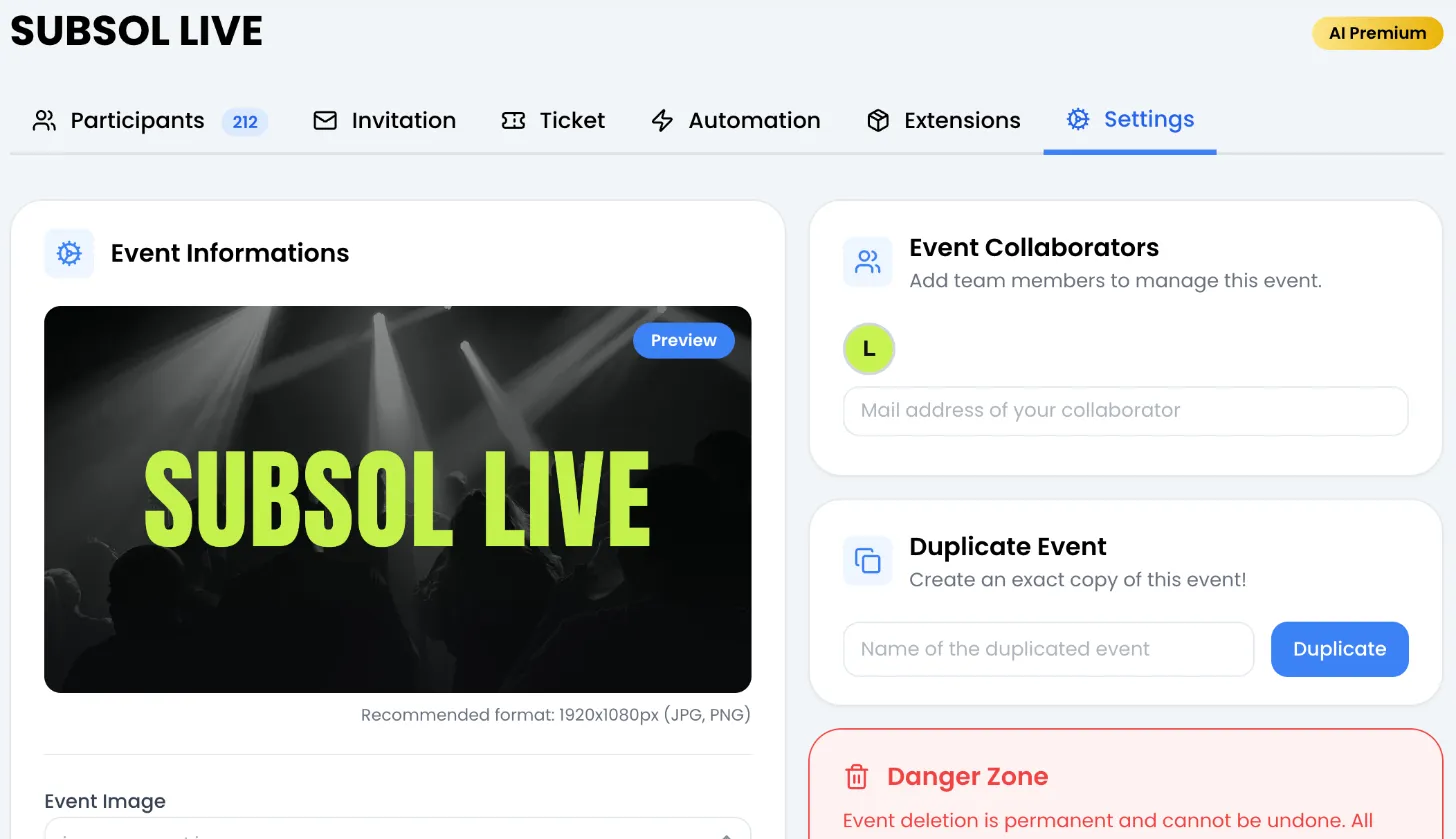
- On the left, the Event Informations card: the image preview and the edit form.
- On the right: Event Collaborators (see Work as a team), Transform into audience if the event is over, Duplicate Event and Danger Zone (see Duplicate or delete an event).
Change the name, address, dates or image
Section titled “Change the name, address, dates or image”The form fields are empty: the current value is shown in grey inside them. Only fill in what you want to change; everything else is kept.
-
In Event Informations, fill in the field or fields to change:
- Event Image: click to choose a JPG or PNG file of 1 MB maximum. Recommended size: 1920 x 1080 px.
- Event Name.
- Event Address: at least 10 characters. Pick one of the suggestions that appear as you type.
- Event Start Date and Event End Date: date and time.
-
Click Update.
The message “Event updated successfully!” appears and the form is cleared. A new image shows up in the preview, marked Preview, in 16:9 format.
Where this information is used
Section titled “Where this information is used”- Name: the dashboard, SweeScan, analytics and your messages (the event name can be inserted in emails).
- Image: the cards on the Events page, the event list in SweeScan, the default image of some blocks on the ticketing page, and the banner of Apple Wallet and Google Wallet passes if you have not chosen another one.
- Address: the default position of the map block on your ticketing page.
- Dates: the event status (Upcoming, Active, Past), the calendar, and the countdown block on the ticketing page when it counts down to the start or end of the event.
What cannot be changed
Section titled “What cannot be changed”The event type, the Stripe account and the VAT rate are set when the event is created. To change them, you need to create a new event. See Create an event.
Error messages
Section titled “Error messages”| Message | What to do |
|---|---|
| File is too large, max size is 1Mo! | Compress the image or reduce its dimensions. |
| Invalid file extension, please retry with a png or jpg file! | Convert the image to JPG or PNG. |
| Invalid address, please enter a valid address! | The address cannot be found on the map: pick a suggestion. |
| Invalid start date, please select a valid date! | The start date is in the past. |
| Invalid end date, please select a valid date! | The end date is in the past or before the start date. |
Turn attendees into an audience
Section titled “Turn attendees into an audience”Once the event is over, its attendees can join your contact base to receive your next campaigns. The Transform into audience card appears in the Settings tab as soon as the end date has passed.
-
Open the Settings tab of the finished event.
-
In the Transform into audience card, click Add to audience.
The message “Audience created successfully!” appears. An audience named after the event, followed by “(Event)”, appears in the Audience menu. It contains the attendees present in the event at the moment of the click.
- An event can only produce one audience. A second click shows “Audience already exists for this event!”.
- Attendees added after the audience is created are not added to it.
- This action requires an active subscription; otherwise, the subscription window opens.
- Only the event owner can create this audience.
- If the event has no attendees, the audience is not created and a generic error message appears.
See Audiences to use this list in your campaigns.