
Publish and share the page
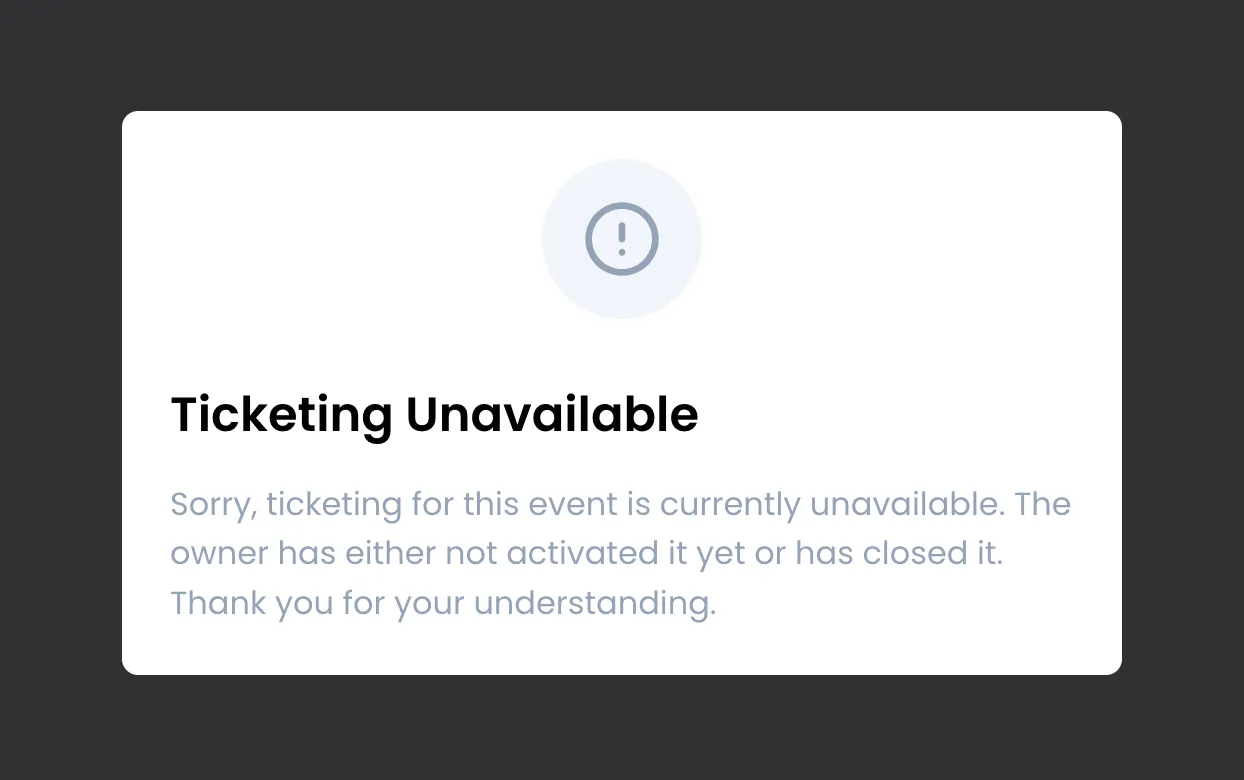
Publishing the page opens sales: the page becomes visible at its address and buyers can order. As long as it is not published, visitors see a “Ticketing Unavailable” page.
Publish the page
Section titled “Publish the page”-
Open your event, Ticket tab.
-
In the Page Configuration card, turn on the Enable White Label Ticketing switch. The bottom button becomes Publish.
-
Click Publish.
-
The message “Ticket page saved successfully!” confirms the page is live. Open the page to check it (see The page address).
If something needed for sales is missing, the page is saved but stays a draft: a warning tells you what is missing and the switch turns itself off. Fix the item mentioned, then try again. Only one problem is reported at a time.
| Message | What is missing | What to do |
|---|---|---|
| “Ticket page saved, but not active because no tickets have been created yet!” | No ticket. | Create at least one ticket in the Your Tickets card. See Create your tickets. |
| “Invalid invitation, please create invitation with email!” | The invitation email. | Create the email in the Invitation tab. See Send invitations. |
| “Badge does not exist, please create a valid badge first!” | The invitation design (the PDF ticket). | Create it in the Invitation tab, Invitation design card. |
| “Invoice company does not exist, please create a valid invoice company first in stripe settings!” | The invoicing details linked to your Stripe account. | Complete them. See Connect Stripe. |
| “Participant columns does not exist, please create a valid participant columns first!” | An internal event setting. | Rare case: contact support. |
Two error messages mean nothing was saved:
- “Inactive stripe account, please contact support!”: the event’s Stripe account is not active. Check your Stripe account in your settings; if the problem persists, contact support.
- “An error occurred, please retry later!”: try again in a moment; if the error comes back, contact support.
Edit a published page
Section titled “Edit a published page”Everything can be changed after publishing: blocks, text, colours, SEO.
-
Open the editor with Open Page Builder and make your changes.
-
Check them with the Preview button.
-
Close the editor, then click Publish. The live page is updated immediately.
There is no separate draft of a published page, and no scheduled publishing: each click on Publish puts the current state of the page live.
Also worth knowing:
- New tickets: a ticket created after publishing appears in the purchase window without republishing the page.
- Event information: if you change the name, address or dates in Settings, the page text and map do not follow. Update them in the editor. The share image and countdowns set on the event dates do follow.
- Last ticket deleted: deleting the event’s last ticket unpublishes the page automatically.
Unpublish the page
Section titled “Unpublish the page”-
In the Page Configuration card, turn off the Enable White Label Ticketing switch. The button becomes Save.
-
Click Save.
Sales close straight away: visitors see the “Ticketing Unavailable” page (“Sorry, ticketing for this event is currently unavailable…”), including on your own domain. Orders already placed and tickets already sent are not affected. To reopen sales, turn the switch back on and click Publish.
The page address
Section titled “The page address”Each page has a Sweescape address in the form https://badge.sweescape.com/landing-page/ followed by the event identifier.
- To copy it, click Copy the page link in the Page Configuration card. The message “Copied to clipboard!” confirms the copy.
- If your own domain is live, this Sweescape address automatically redirects to your domain. The Copy the page link button always copies the Sweescape address: to share the address under your name, copy it from the Your own domain card. See Put your ticketing on your own domain.
Share the page
Section titled “Share the page”- Link previews: on social networks and messaging apps, the link shows the title, description and event image. See Colours, fonts and SEO.
- QR code: Sweescape does not generate a QR code for the page. Use the tool of your choice with the page address, preferably your own domain.
- Email campaigns: links in your Sweescape email campaigns are tagged automatically, and orders placed after a click are attributed to the campaign. See Campaign statistics.
- Visit tracking: page visits and sales are counted in SweeAnalytics, with nothing to install. See Sales and traffic.
See also: Pixels and tracking scripts to add your own measurement tools.