
Extensions
An extension adds a feature to an event’s ticketing: an extra block in the page editor (countdown, “only N spots left” banner, ticket list…), or an extra step in the purchase flow, such as picking a seat on a seating plan.
Where to find extensions
Section titled “Where to find extensions”In the dashboard, open your account menu (your first name, top right) and click Extensions. The page has two parts:
- My extensions: the extensions you created yourself. This part is mostly for developers: see Create an extension.
- Installed from the marketplace: the ready-made extensions you added to your account from the Marketplace, the catalog of published extensions.
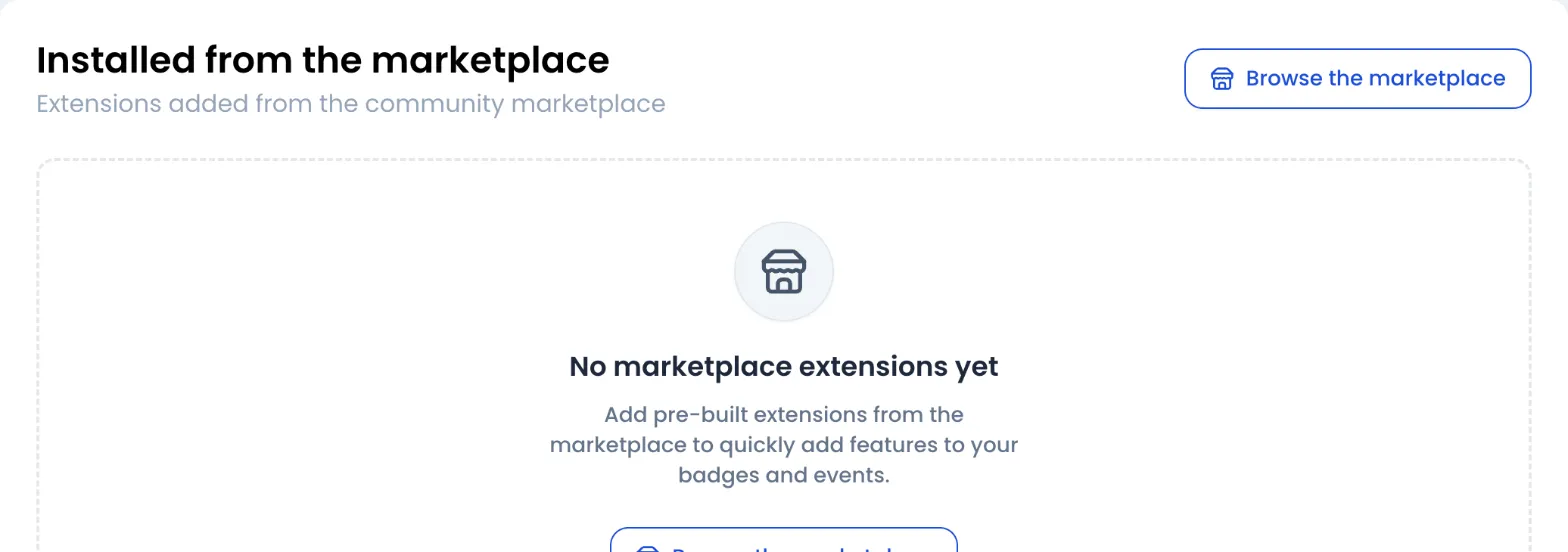
Together, these two lists form your account’s library. An extension must be in it before it can be activated on an event.
The path of an extension
Section titled “The path of an extension”- Add the extension to your account, from the marketplace (or by creating it).
- Activate it on an event, in the event’s Extensions tab.
- Place its block on the ticketing page with the page editor, then adjust its settings.
- Publish the page: buyers see the extension.
The step-by-step guide is in Install and activate an extension.
What an extension can do
Section titled “What an extension can do”An extension is displayed in an isolated frame on your page and only communicates with Sweescape through a restricted channel. The marketplace shows its Permissions required before you add it, so you know what it uses:
| Permission | What it means |
|---|---|
ui:render |
Display a block on the page. |
event:read |
Read the event’s name, dates and status. |
ticket:read |
Read the tickets on sale, their price and the number of spots left. |
participant:write |
Save a piece of information on the attendee, for example the chosen seat. |
Whatever its permissions, an extension never sees your attendee list or their personal data, and it can neither take a payment nor validate a ticket: payment stays with Sweescape and your Stripe account.