
Install and activate an extension
An extension goes through three steps before buyers see it: you add it to your account, you activate it on an event, then you place its block on the ticketing page.
1. Add the extension to your account
Section titled “1. Add the extension to your account”-
Open your account menu (your first name, top right) and click Extensions.
-
In the Installed from the marketplace part, click Browse the marketplace.
-
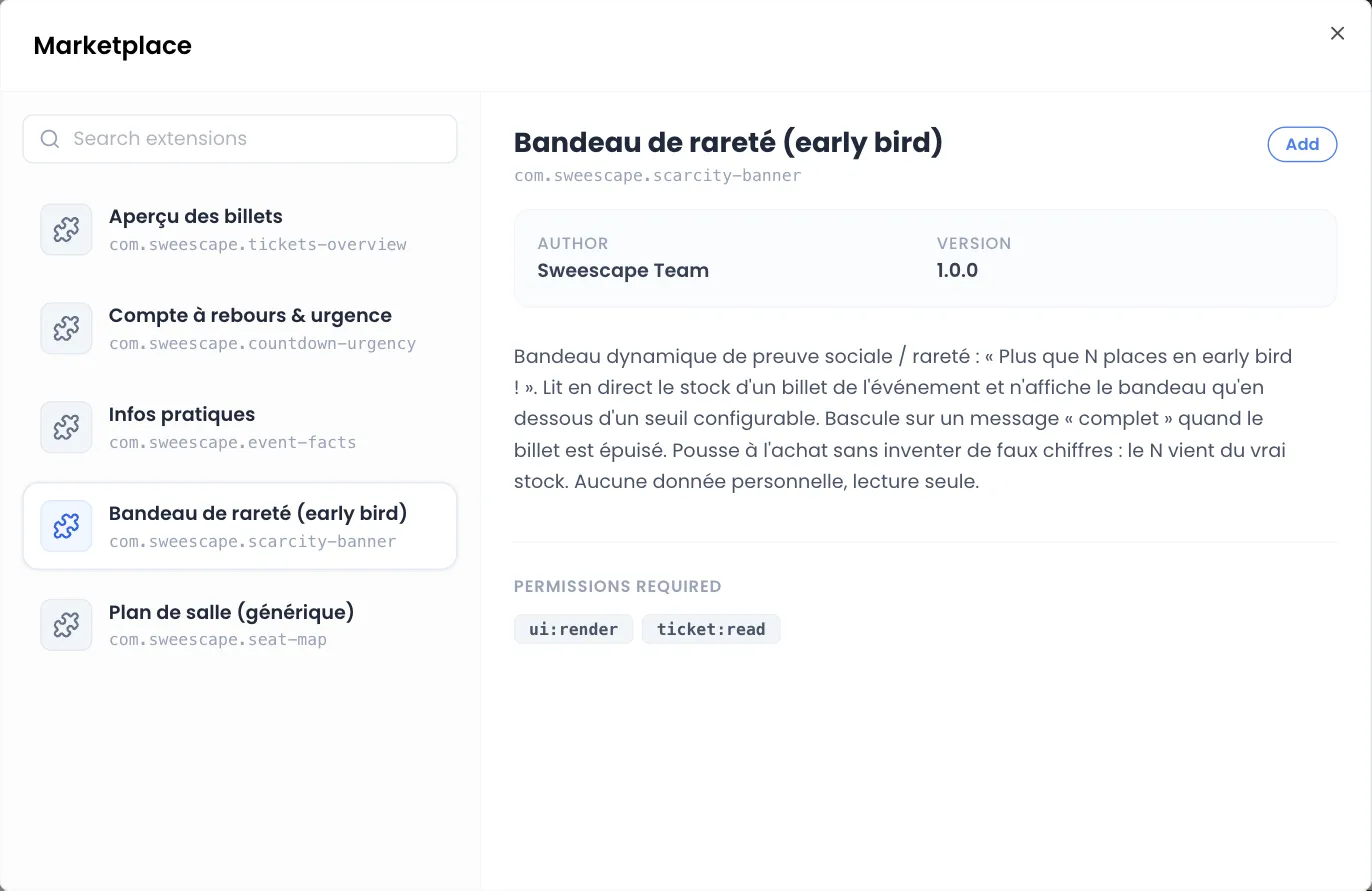
In the Marketplace window, click an extension in the left list to show its details: Author, Version, description and Permissions required.
-
Click Add. The message “Extension added to your account” confirms it.
In the marketplace, an extension you already added shows the Installed badge. An extension you created yourself shows the Owner badge.
2. Activate the extension on an event
Section titled “2. Activate the extension on an event”-
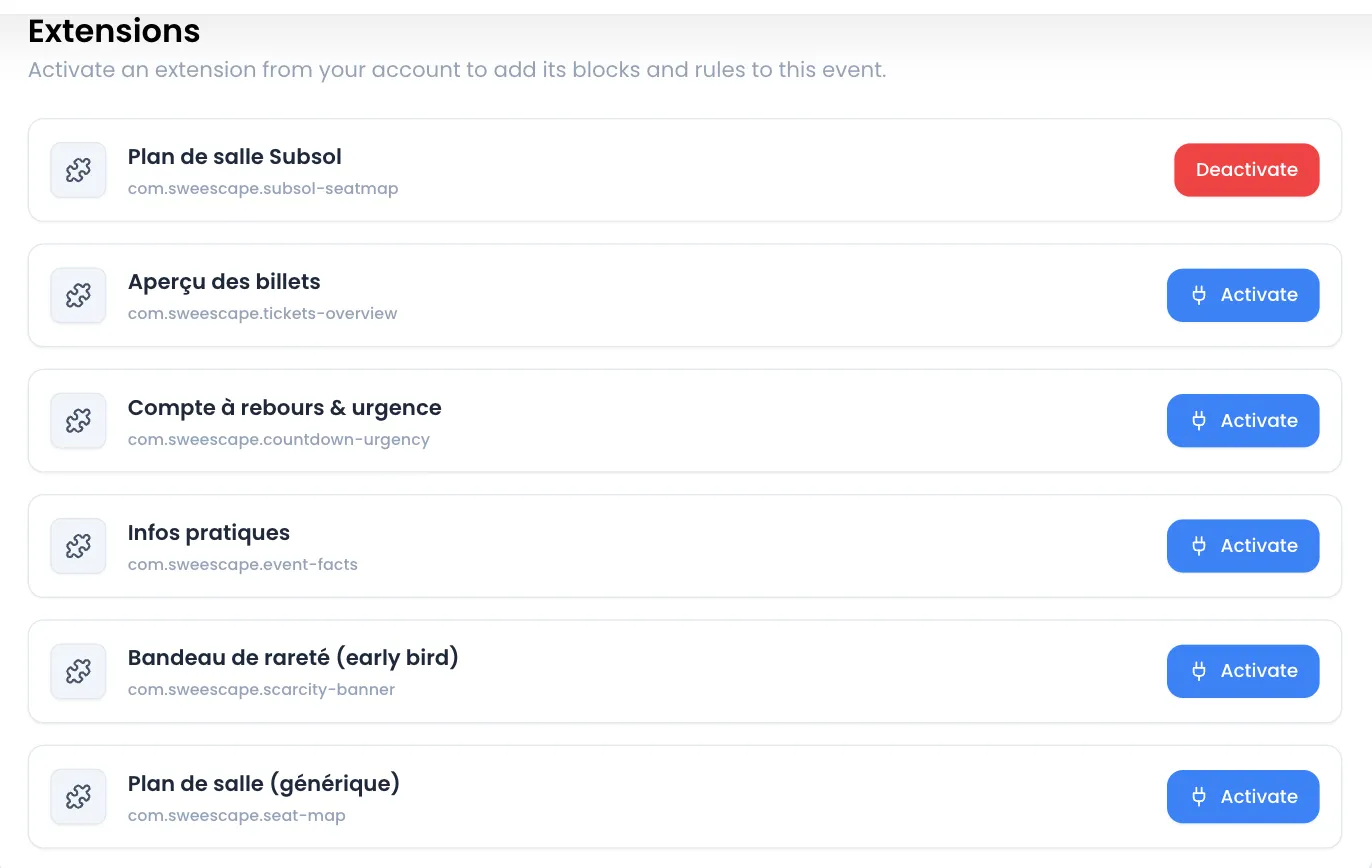
Open the event and click the Extensions tab.
The tab lists every extension in your account: those added from the marketplace and those you created.
-
Click Activate next to the extension. The message “Extension installed” confirms it.
If the list is empty, the message “No extension in your account” appears: first add an extension from the Extensions page.
3. Place and set up the block on the page
Section titled “3. Place and set up the block on the page”-
In the event’s Ticket tab, click Open Page Builder.
-
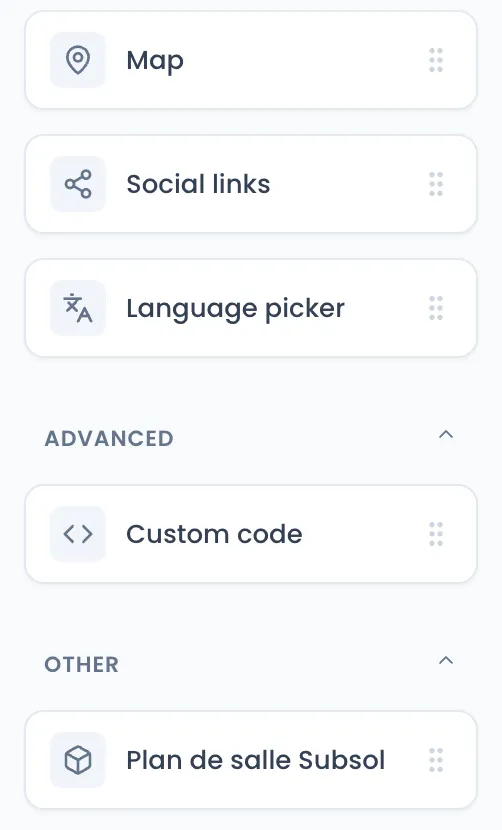
In the editor’s Blocks tab, on the left, scroll to the bottom of the block list: activated extensions are in the last category, currently labelled OTHER. Each one appears there under the name its author gave it (in French for the extensions made by Sweescape), for example “Compte à rebours & urgence”.
-
Drag the block to the right place on the page.
-
Click the block to show its settings in the right panel, and fill them in. Settings depend on the extension: texts, colors, a choice among the event’s tickets, Yes / No options. Each extension is detailed in Available extensions.
-
Close the editor with Close builder, then click Save or Publish under the Page Configuration card. Buyers see the extension once the page is published. See Publish the page.
Extensions that save information about the buyer, such as the seating plan, also add columns to your attendees (for example seat and zone). These columns show in the attendee list. They are never asked in the checkout form: the extension fills them in.
Deactivate an extension on an event
Section titled “Deactivate an extension on an event”-
Open the event, Extensions tab.
-
Click Deactivate next to the extension.
-
An Are you sure? window reminds you that the data already saved on your attendees (seat, zone…) is kept, but that the extension’s blocks and columns will disappear from the event. Confirm with Delete now.
The message “Extension uninstalled” confirms the deactivation. The block is no longer displayed on your ticketing page, even if it is published. You can reactivate the extension at any time with Activate: the columns come back with their data.
Remove an extension from your account
Section titled “Remove an extension from your account”On the Extensions page, in Installed from the marketplace, click the trash icon next to the extension. The message “Extension removed from your account” confirms it.
Error messages
Section titled “Error messages”| Message | Cause and fix |
|---|---|
| “This extension is already installed!” | The extension is already active on this event. Reload the page to see its state. |
| “This extension doesn’t exist!” | The extension was removed from your account or deleted in the meantime. Add it again from the marketplace. |
| “This seat is no longer available, please choose another one.” | Seen by a buyer: the seat chosen on a seating plan was just taken by someone else. |